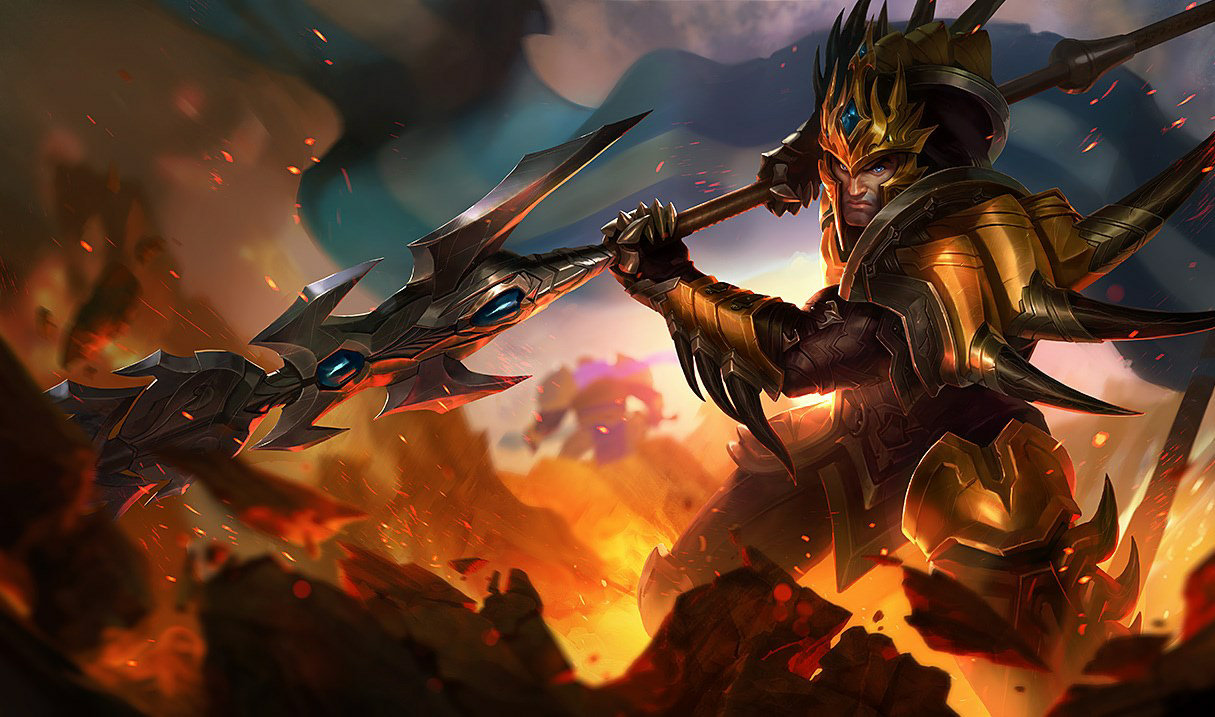
 Jarvan IV Stats and Analytics
 Jarvan IV Gameplay Guide – Mastering Jarvan Jungle and Top Lane in League of Legends
Jarvan IV, the Exemplar of Demacia, is a versatile champion who excels in the jungle and top lane thanks to his strong engage, teamfight initiation, and early to mid-game pressure. Known for his combination of mobility, crowd control, and burst damage, Jarvan IV can start fights, lock down priority targets, and create opportunities for his team to snowball. Mastering Jarvan requires understanding his abilities, optimal combos, jungle routes, laning patterns, mid-game roaming, late-game teamfight positioning, rune choices, itemization, and matchup nuances.
Understanding Jarvan IV’s Abilities
Passive: Martial Cadence
Jarvan IV’s passive deals bonus damage on his first basic attack against each enemy champion. Martial Cadence is particularly effective during early trades, skirmishes, and jungle duels. Understanding its cooldown and leveraging it in trades is crucial for maximizing early-game pressure in lane or jungle fights. It also synergizes with his Q and auto-attacks to quickly chunk opponents during all-ins.
Q: Dragon Strike
Dragon Strike allows Jarvan IV to extend his lance in a straight line, dealing damage and reducing enemy armor. This ability synergizes with his E (Demacian Standard) for a combo called “EQ combo” to knock up enemies. Dragon Strike is a versatile tool for initiating fights, poking during laning phase, and executing combos in jungle ganks or teamfights. Proper placement is essential to land knock-ups reliably.
W: Golden Aegis
Golden Aegis provides a shield based on the number of nearby enemies and slows them upon activation. W is Jarvan’s defensive and disruption tool, allowing him to survive skirmishes, engage safely, and peel for allies. Timing Golden Aegis in trades or during a teamfight ensures maximum mitigation and crowd control impact. It synergizes well with EQ engages or R ultimates in fights where multiple enemies are present.
E: Demacian Standard
Demacian Standard plants a flag that grants attack speed to nearby allies and can be used with Q to knock up enemies in its path. E is essential for setting up Jarvan’s all-ins, objective control, and skirmishes. Strategic flag placement increases the effectiveness of his engage and provides buffs to teammates during fights. E also serves as vision control when placed in key jungle paths or choke points.
R: Cataclysm
Jarvan IV’s ultimate traps enemies in an arena created by his leap. Cataclysm is a game-changing engage and zoning tool in both jungle and teamfights. It locks down high-priority targets and allows your team to follow up with damage. Proper timing and positioning are crucial: jumping onto carries or multiple enemies with EQ combo followed by R can secure kills or force disengages. Cataclysm also synergizes with crowd control from allies for maximum impact.
Early Game – Jungle and Lane Presence
Jarvan IV’s early game revolves around strong gank potential and jungle control. In the jungle, prioritize high-impact camps such as Blue and Red buffs to support laners. His EQ combo allows him to gank effectively, even if lanes are not overextended. Early scuttle control is important for vision, objective control, and denying enemy jungler opportunities.
In the top lane, use Martial Cadence with auto-attacks, Q poke, and W for trades. Jarvan thrives in early skirmishes due to his strong burst and knock-up combo. Proper placement of Demacian Standard ensures you maximize the EQ combo’s effectiveness. Early invades can secure vision, buffs, or objectives, applying map pressure and giving your team a significant advantage.
Mid Game – Roaming, Skirmishes, and Objective Control
Mid-game Jarvan IV focuses on controlling objectives and assisting in skirmishes. With EQ + R, he can catch priority targets, create pick opportunities, and zone enemies from Dragon or Rift Herald. Brush control and vision placement are crucial for setting up effective engages. Roaming to mid-lane for picks or counter-jungling can create significant map pressure and snowball leads.
Effective combos during mid-game include EQ → auto → R → W, ensuring maximum disruption and damage in teamfights. Use R strategically to isolate enemy carries, force disengages, or trap multiple enemies during contested objectives. Timing and communication with teammates are key to leveraging Jarvan’s engage potential for decisive fights.
Late Game – Teamfighting and Target Control
In late-game teamfights, Jarvan IV acts as both a frontliner and an engage initiator. Positioning is critical: use EQ to initiate onto high-priority targets, follow up with Cataclysm to trap them, and use W for shielding and crowd control mitigation. Jarvan’s role in late-game is to control enemy movement, peel for carries, and ensure team coordination during high-stakes fights.
Target selection is essential. Engage on squishy carries or key threats to maximize follow-up damage. Use Cataclysm to split enemy teams or isolate a target while ensuring your team can capitalize on the lockdown. Late-game Jarvan excels when his EQ → R combo is coordinated with allies’ crowd control and damage abilities, creating decisive moments in fights.
Combos and Trading Patterns
- Basic Engage: E → Q → auto → R to trap enemies and maximize knock-up damage.
- Skirmish Combo: Auto → E → Q → W → R to burst down priority targets and provide disruption.
- Objective Control: EQ → R onto carries → W for team peel → secure Dragon/Baron.
- Lane Trading: Auto → Q poke → W shield → retreat using movement advantage.
Runes and Itemization
Jarvan IV benefits from runes that enhance dueling, tankiness, and crowd control. Keystone runes like Conqueror provide sustained damage during extended trades, while Phase Rush or Aftershock enhance mobility or tankiness. Secondary runes can focus on durability, early game sustain, or bonus damage depending on matchups.
Core items for Jarvan IV include damage, tankiness, and cooldown reduction. Items like Eclipse or Goredrinker increase dueling potential, while Sunfire Aegis or Sterak’s Gage provide survivability and frontline presence. Situational items such as Thornmail, Guardian Angel, or Randuin’s Omen counter specific enemy threats. Proper itemization ensures Jarvan IV remains impactful in early skirmishes and late-game teamfights.
Team Composition Synergies
Jarvan IV excels in compositions that value engage and crowd control. He pairs well with high-damage carries who can follow up on EQ → R combos, and with peel champions who can protect your carries when you engage. Jarvan’s ability to trap multiple enemies and zone areas is especially effective in coordinated team compositions focused on pick and objective control.
Matchup Tips
Against heavy melee champions, use EQ poke and Martial Cadence to win trades early. Against ranged poke champions, focus on shield timing, defensive W usage, and engage when cooldowns align with teammates. During jungle matchups, prioritize vision control and scuttle contests to maximize pressure. Late-game positioning against assassins or mobile threats requires careful EQ → R planning to prevent being caught out of position.
Closing Thoughts
Jarvan IV is a highly versatile champion capable of dominating lanes, initiating fights, controlling objectives, and locking down high-priority targets. Mastering his passive, EQ combos, Cataclysm timing, and proper itemization allows players to carry games through skillful engagements and map pressure. By understanding optimal jungle and lane paths, mid-game rotations, late-game positioning, and teamfight execution, Jarvan IV players can consistently impact every phase of the game.
This Jarvan IV gameplay guide provides detailed coverage of abilities, early, mid, and late-game strategies, combos, trading patterns, runes, itemization, matchup advice, and team composition synergies. Following these strategies ensures that Jarvan IV players can maximize his utility, control fights, and carry their team to victory in League of Legends.
 METABOT.gg
