 Thresh Stats and Analytics
 Thresh Gameplay Guide – Mastering Thresh Support and Playmaking in League of Legends
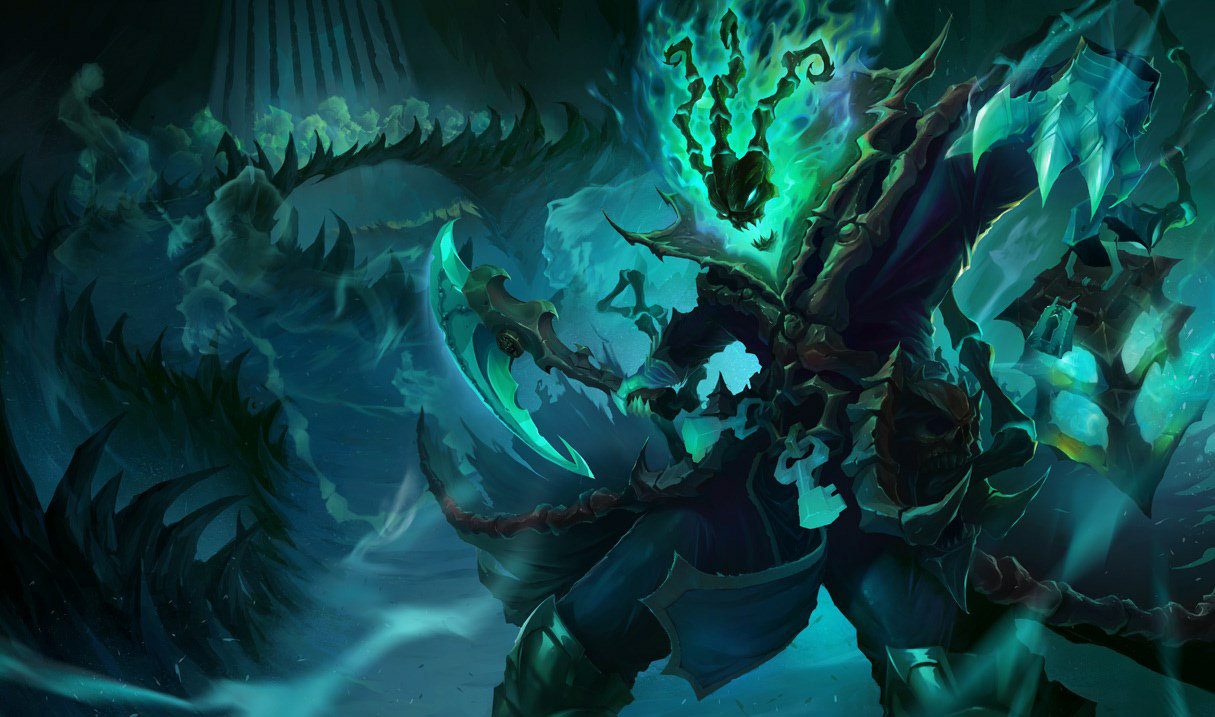
Thresh, the Chain Warden, is one of the most dynamic support champions in League of Legends, renowned for his playmaking ability, crowd control, and utility. With a kit that excels in both initiation and peel, Thresh can drastically influence the outcome of laning phases, skirmishes, and teamfights. Mastering Thresh requires a deep understanding of his abilities, early laning strategies, mid-game roaming, late-game positioning, rune and item optimization, matchup knowledge, and team synergy.
Understanding Thresh’s Abilities
Passive: Damnation
Thresh collects souls from dead enemies to permanently gain armor and ability power. This passive scales throughout the game, enhancing his survivability and damage potential. Proper management of Damnation ensures Thresh gradually becomes tankier and more impactful in mid-to-late game fights.
Q: Death Sentence
Thresh throws his scythe, stunning and pulling the first enemy hit toward him. Q is his signature engage tool, enabling both offensive plays and setup for allies. Accurate Death Sentence usage allows Thresh to catch priority targets, initiate fights, and control skirmishes. Predicting enemy movement and positioning is critical to landing hooks effectively.
W: Dark Passage
Thresh throws a lantern that shields allies and allows them to dash to him. W provides both utility and safety for teammates. Effective use of Dark Passage enables Thresh to save allies from danger, reposition squishy carries, and facilitate coordinated engages or escapes. Timing and placement are crucial for maximizing the impact of W in both laning and teamfights.
E: Flay
Thresh sweeps his chain in a direction, dealing damage, slowing, and repositioning enemies. E enhances his ability to control space, peel for allies, and follow up on Q initiations. Proper use of Flay ensures that enemies are disrupted, prioritized targets are isolated, and Thresh can influence skirmishes effectively.
R: The Box
Thresh summons a wall of spectral walls that slow and damage enemies passing through. R provides zoning, area control, and a deterrent during fights. Proper timing of The Box can trap enemies, secure objectives, and create advantageous teamfight scenarios. Awareness of enemy movement and cooldowns ensures maximum utility from his ultimate.
Early Game – Laning and Hook Opportunities
Thresh’s early game focuses on controlling the bottom lane, landing hooks, and providing utility to the ADC. Use Q to catch enemies off guard, E to peel or secure trades, and W to protect allies. Maintaining proper positioning near brushes increases hook success and lane safety. Early success revolves around poking, zoning, and collecting souls to scale effectively.
Combining Q-E-W in short trades allows Thresh to set up kills, protect his ADC, and maintain lane dominance. Awareness of enemy cooldowns, jungler positions, and summoner spell timers is critical to avoid being punished while attempting hooks.
Mid Game – Roaming and Objective Control
During the mid game, Thresh excels at roaming to assist other lanes, securing vision control, and influencing skirmishes. Use Q to initiate picks, E to control enemy movement, and W to reposition allies into advantageous situations. Mid-game rotations with the jungler or mid-laner maximize map pressure and create opportunities for objectives like Dragon and Rift Herald.
Placing deep vision and anticipating enemy rotations enhances Thresh’s utility. Proper use of The Box during skirmishes creates zones of control that force enemies into disadvantageous positions. Effective roaming requires communication, map awareness, and careful cooldown management to ensure successful engages and minimal risk.
Late Game – Teamfight Positioning and Crowd Control
In the late game, Thresh’s role transitions to a primary engage and peel support. Positioning is critical: hold brushes or flank → Q engage priority targets → E follow-up → W save or reposition allies → R zone or trap enemies. Late-game success depends on landing key hooks, protecting carries, and controlling the battlefield with Flay and The Box.
Cosmetic timing and spatial awareness allow Thresh to prevent enemy dives, isolate carries, and control key areas during Baron or Elder Dragon fights. Awareness of enemy cooldowns, threat priority, and positioning ensures Thresh remains an impactful frontline support while maximizing his utility.
Combos and Play Patterns
- Early Lane Trade: E Flay → auto-attack → Q Death Sentence → W shield ADC if engaged → zone enemy with autos and E.
- Mid-Game Skirmish: Q hook priority target → E slow and reposition → W lantern reposition → R The Box to trap enemies or control zone.
- Late-Game Teamfight: Position to catch enemy carries with Q → E Flay to disrupt frontline → W protect high-priority allies → R box for zoning and area control.
- Roaming Strategy: Move mid or side lanes → place vision → Q pick → E slow → W reposition ally → secure kills or objectives.
- Objective Control: Use Q to catch enemies contesting Dragon/Baron → E and R to control zone → W reposition ally → maintain control and secure objective.
Runes and Itemization
Thresh benefits from runes that enhance engage, tankiness, and utility. Primary runes often include Aftershock for durability during engages, Font of Life for healing synergy, Conditioning for scaling, and Revitalize for shield amplification. Secondary runes like Bone Plating and Approach Velocity improve survivability and repositioning. Proper rune selection ensures Thresh can land hooks safely, protect allies, and scale effectively through all phases of the game.
Core items include Locket of the Iron Solari for team shielding, Zeke’s Convergence for synergy with carries, Knight’s Vow for protecting priority allies, and Gargoyle Stoneplate for tankiness in teamfights. Situational items like Redemption, Thornmail, or Mikael’s Blessing provide utility, anti-heal, or crowd control mitigation. Correct itemization ensures Thresh maintains lane dominance, survive engagements, and influence fights through utility and disruption.
Team Composition Synergies
Thresh thrives in compositions that benefit from strong initiation, peel, and pick potential. He synergizes with high-damage carries and frontline champions who can follow up on his hooks and crowd control. Teams lacking coordination or follow-up reduce Thresh’s effectiveness, as his engage and utility depend on allies capitalizing on his setups. Effective synergy ensures Thresh can control skirmishes, secure objectives, and influence fights throughout the game.
Matchup Tips
Against poke-heavy supports, position carefully and use E to avoid harassment while setting up hooks. Against all-in supports, time Q and E to prevent engages and use W defensively. Late-game positioning emphasizes flanking to catch key enemy targets, zoning with R, and saving carries with W. Awareness of enemy cooldowns, vision, and threat priority ensures Thresh remains impactful and maximizes utility in all stages of the game.
Closing Thoughts
Thresh is a high-utility support capable of making game-changing plays through hooks, crowd control, shields, and zone control. Mastering his passive, Q, W, E, and R, along with early laning, mid-game roaming, late-game positioning, rune optimization, itemization, matchup knowledge, and team synergy, ensures consistent performance. Understanding combos, timing, and positioning allows Thresh players to create picks, protect allies, and influence fights decisively. By leveraging playmaking potential, crowd control, and utility, Thresh consistently enables his team to secure objectives, win skirmishes, and dominate from early laning to late-game teamfights.
 METABOT.gg
