
Aniimo Catch Rates & Capture Calculator
Base catch rate for 246 catchable Aniimo forms, every Aniipod's multiplier and level range, and the states a target can be in — the only lever you hold at the moment of the throw. The easiest catch is Baleetle at 56%; the hardest is Rookey · Timberline Form at 16%.
Catch calculator
Pick a species, an Aniipod and the state you will catch it in. Those three are the whole formula: the game multiplies the species' base rate by the pod and by the target's state, and nothing else.
Catch rate of every Aniimo (246)
Base rate at full HP with a standard Aniipod, from the game's catch table. 12 species have no catch group and cannot be caught in the wild.
 Baleetle
 Baleetle · Snowfield Form
 Bolty
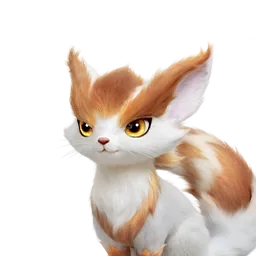 Bolty · Timberline Form
 Bonesky
 Bonesky · Nighttime Form
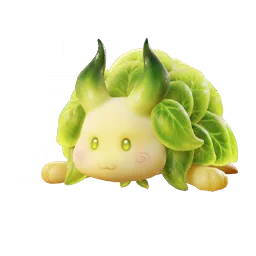 Bubbeep
 Budclaw
 Budclaw · Bay Form
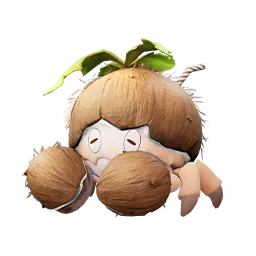 Budclaw · Beach Form
 Budclaw · Mudflat Form
 Budsquire
 Budsquire · Towerwood Form
 Bulbly
 Celestis
 Chirpi
 Chirpi · Beach Form
 Chirpi · Highland Form
 Coinwisp
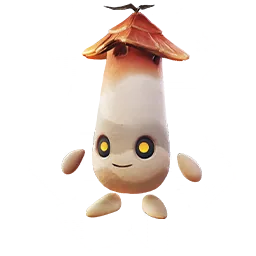 Cozite
 Cubbo
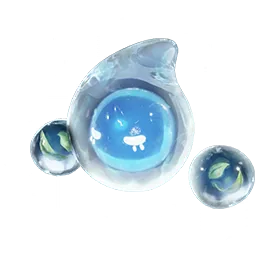 Dewlop
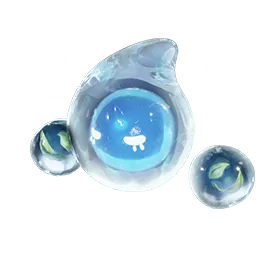 Dewlop · Waterfall Form
 Dewy
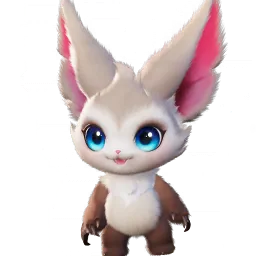 Eko
 Emberpup
 Emberpup · Highland Form
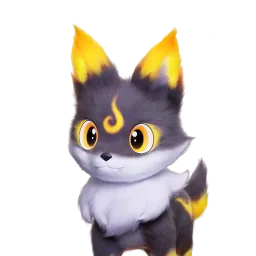 Emberpup · Timberline Form
 Fahloo
 Fentuft
 Flutternym
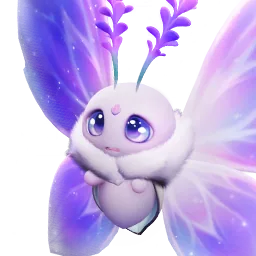 Flutternym · Flowerfield Form
 Flutternym · Nighttime Form
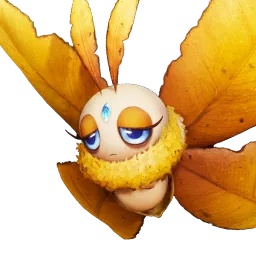 Flutternym · Timberline Form
 Helion
 Hummin
 Hummin · Mountain Form
 Hypnowl
 Iris
 Iris · Forest Form
 Iris · Grassland Form
 Iris · Highland Form
 Iris · Plateau Form
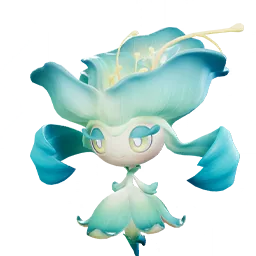 Iris · Timberline Form
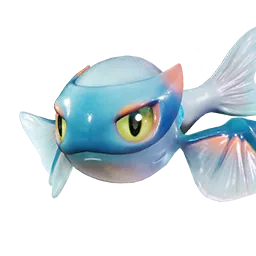 Jeglid
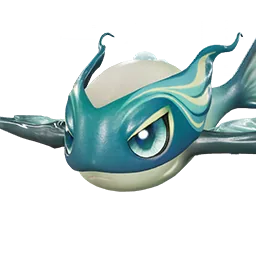 Jeglid · Tempest Form
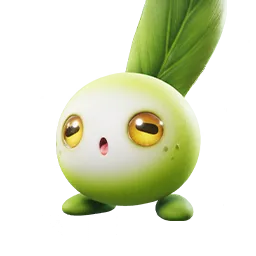 Lilipole
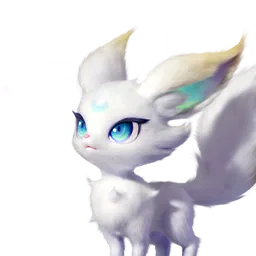 Lunara
 Nimbi
 Nimbi · Cloudmist Form
 Nimbi · Plateau Form
 Nimbi · Rainfall Form
 Pebbling
 Pomegg
 Pomegg · Flowerfield Form
 Pomegg · Highland Form
 Pomegg · Snowfield Form
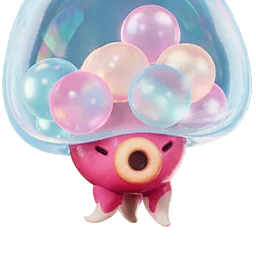 Popapus
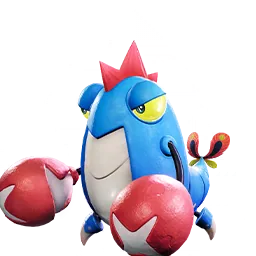 Prawnch
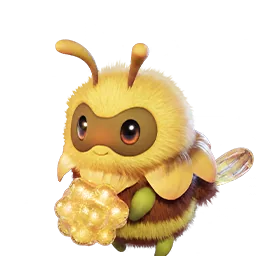 Puffby
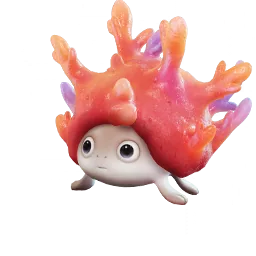 Reefish
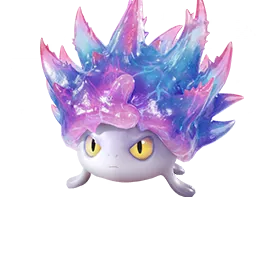 Reefish · Rainfall Form
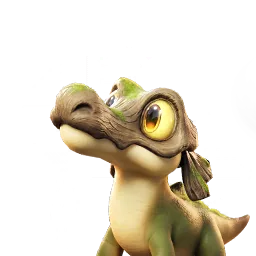 Salabask
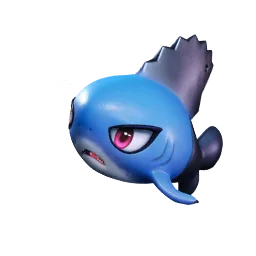 Saws
 Shelly
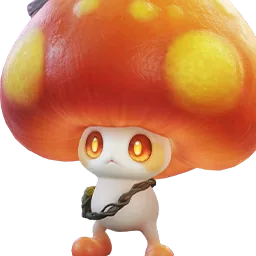 Shrout
 Sparki
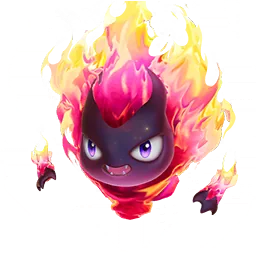 Sparki · Flowerfield Form
 Sparki · Forest Form
 Sparki · Highland Form
 Squarrel
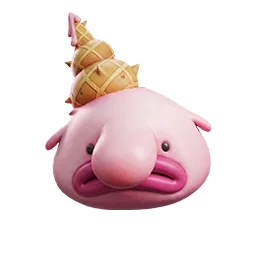 Sugarfish
 Susuta
 Susuta · Basic Form
 Susuta · Nighttime Form
 Tuckin
 Fenrier
 Fenrier · Nighttime Form
 Flameruff
 Flameruff · Highland Form
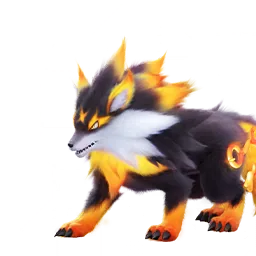 Flameruff · Timberline Form
 Geodeback
 Lavazar
 Popota
 Popota · Nighttime Form
 Sheldon
 Veilfloat
 Wisptis
 Wisptis · Forest Form
 Wisptis · Highland Form
 Bailite
 Besauce
 Blazen
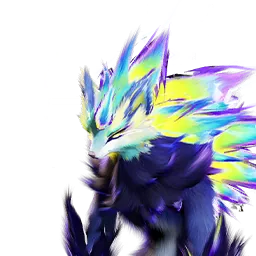 Blazen · Prismana Form
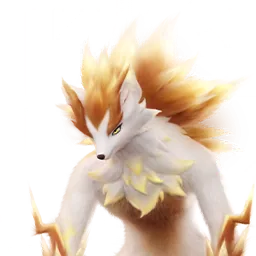 Blazen · Timberline Form
 Bouldus
 Bouldus · Snowfield Form
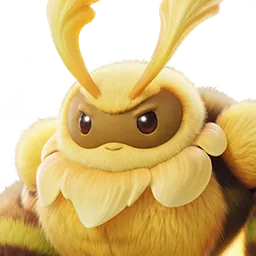 Buffby
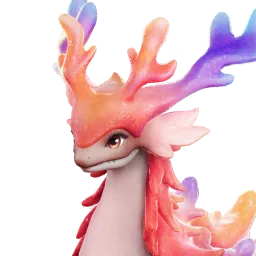 Coraliz
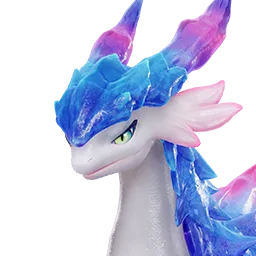 Coraliz · Rainfall Form
 Cornet
 Cornet · Beach Form
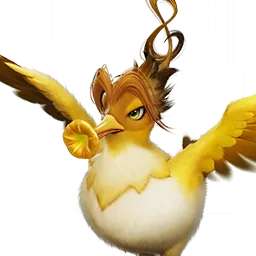 Cornet · Highland Form
 Cornet · Prismana Form
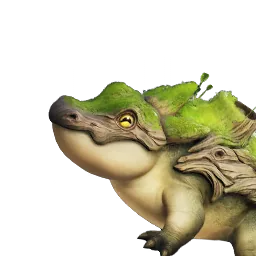 Crocobask
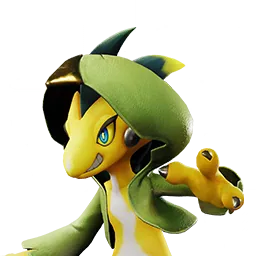 Dazmand
 Dewple
 Dewple · Waterfall Form
 Dreaple
 Eklue
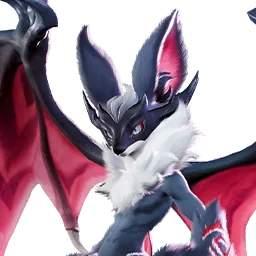 Ekrim
 Ekrim · Prismana Form
 Erlath
 Fenmane
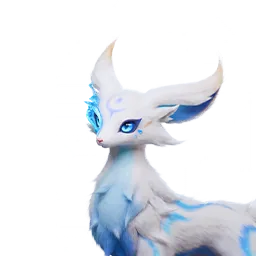 Fennelun
 Flamerion
 Flamerion · Flowerfield Form
 Flamerion · Forest Form
 Flamerion · Highland Form
 Fragrancier
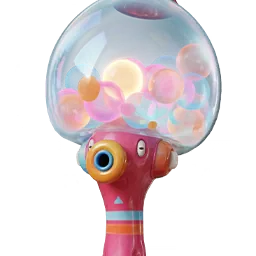 Gachapus
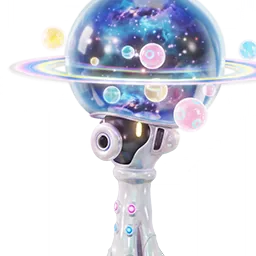 Gachapus · Prismana Form
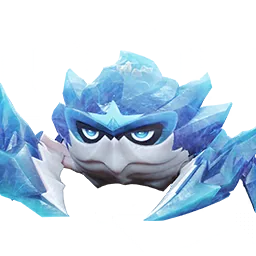 Geoclaw
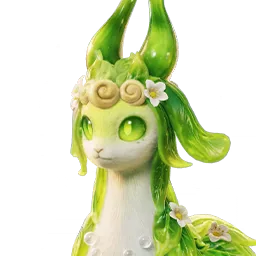 Glameep
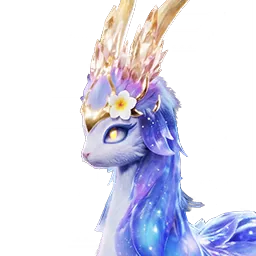 Glameep · Prismana Form
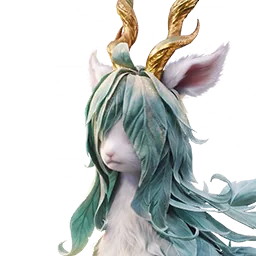 Glameep · Tempest Form
 Glynsera
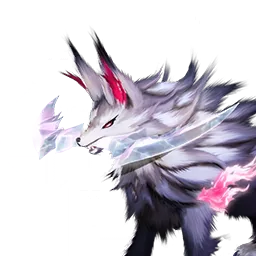 Glynsera · Nighttime Form
 Glynsera · Prismana Form
 Gracewing
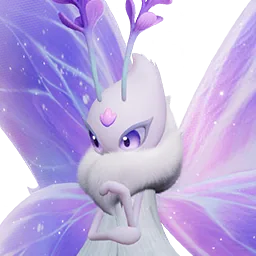 Gracewing · Flowerfield Form
 Gracewing · Nighttime Form
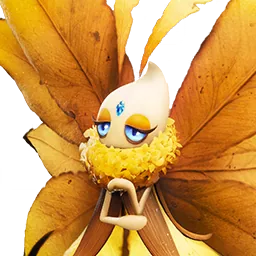 Gracewing · Timberline Form
 Grizbo
 Hexxin
 Hexxin · Mountain Form
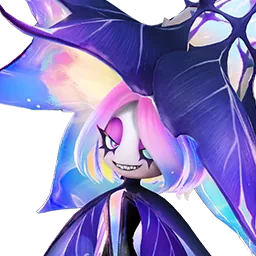 Hexxin · Prismana Form
 Hoptail
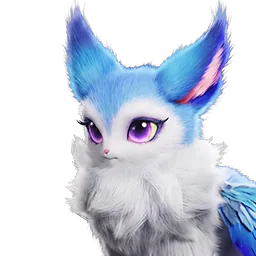 Hypnyto
 Hypnyto · Prismana Form
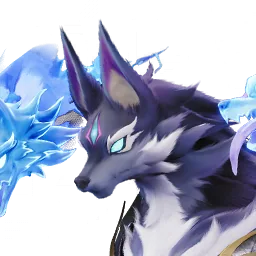 Inferlupa
 Inferlupa · Prismana Form
 Irisal
 Irisal · Forest Form
 Irisal · Grassland Form
 Irisal · Highland Form
 Irisal · Plateau Form
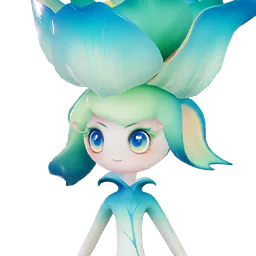 Irisal · Timberline Form
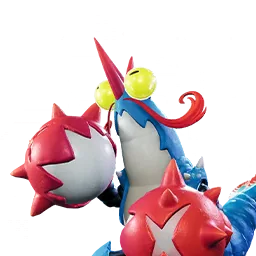 Jabster
 Jabster · Prismana Form
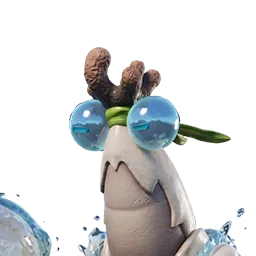 Jabster · Rainfall Form
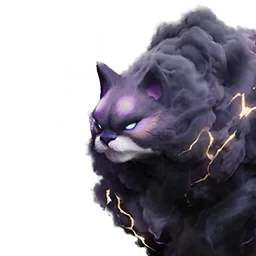 Jaguaraun
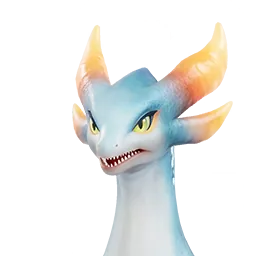 Jeburst
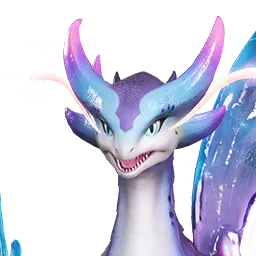 Jeburst · Prismana Form
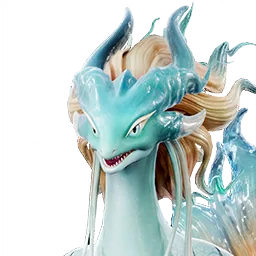 Jeburst · Tempest Form
 Luminelle
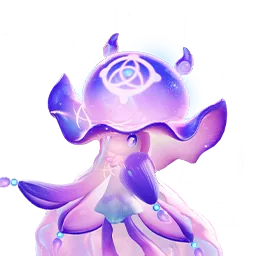 Luminelle · Prismana Form
 Luminelle · Rainfall Form
 Magmarex
 Magmarex · Basic Form
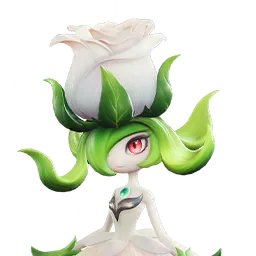 Melloblum
 Melloblum · Prismana Form
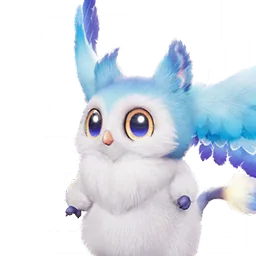 Mesmerowl
 Minespine
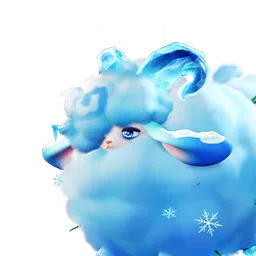 Minespine · Plateau Form
 Panpanta
 Panpanta · Nighttime Form
 Panpanta · Prismana Form
 Piopiota
 Piopiota · Nighttime Form
 Pomawk
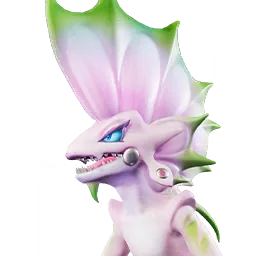 Pomawk · Flowerfield Form
 Pomawk · Highland Form
 Pomawk · Snowfield Form
 Pouchwisp
 Pouchwisp · Prismana Form
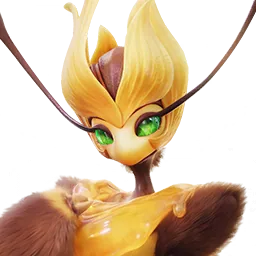 Royalby
 Royalby · Prismana Form
 Scorchhowl
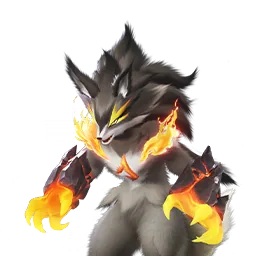 Scorchhowl · Highland Form
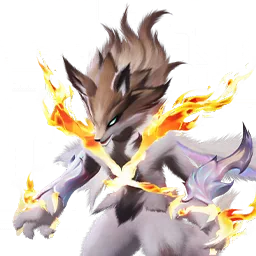 Scorchhowl · Prismana Form
 Scorchhowl · Thunderstorm Form
 Scorchhowl · Timberline Form
 Scrubbit
 Scrubbit · Rainfall Form
 Sherro
 Sherro · Prismana Form
 Sherro · Thunderstorm Form
 Shrubclaw
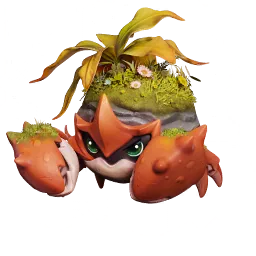 Shrubclaw · Bay Form
 Shrubclaw · Beach Form
 Shrubclaw · Mudflat Form
 Soleon
 Sparkelf
 Squashel
 Stellarys
 Stellarys · Rainfall Form
 Sugarslime
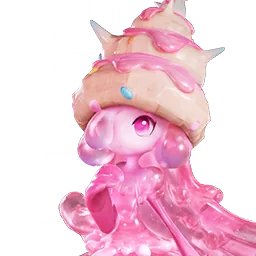 Sugartini
 Sugartini · Prismana Form
 Thornblade
 Thornblade · Prismana Form
 Thornblade · Thunderstorm Form
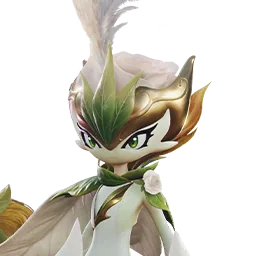 Thornblade · Towerwood Form
 Tromber
 Tromber · Beach Form
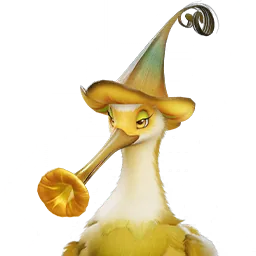 Tromber · Highland Form
 Tubster
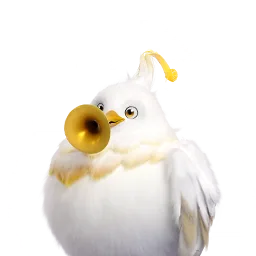 Tubster · Basic Form
 Tubster · Beach Form
 Tubster · Highland Form
 Tuckin
 Tuckin · Basic Form
 Tuckin · Mountain Form
 Turbo
 Turbo · Cloudmist Form
 Turbo · Plateau Form
 Turbo · Prismana Form
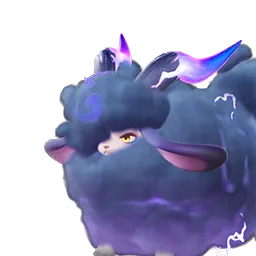 Turbo · Rainfall Form
 Waleetle
 Waleetle · Prismana Form
 Waleetle · Snowfield Form
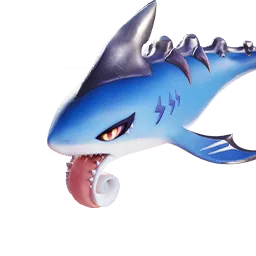 Whirlbite
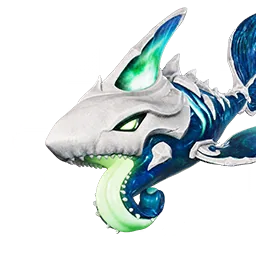 Whirlbite · Prismana Form
 Fulmintis
 Fulmintis · Prismana Form
 Ignitis
 Ignitis · Forest Form
 Ignitis · Highland Form
 Ignitis · Prismana Form
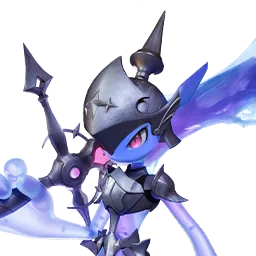 Pawney
 Pawney · Prismana Form
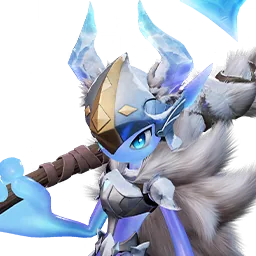 Pawney · Snowfield Form
 Pawney · Timberline Form
 Rookey
 Rookey · Snowfield Form
 Rookey · Timberline Form
Know your catch odds before you throw
Catch Calculator shows the odds and expected throws for any species and Aniipod, and whether a better pod is worth the cost.
- Catch odds per Aniipod
- Expected throws
- Best-value pod

Aniipods (10)
10 Aniipods: Aniipod, Legendary Aniipod, Aniipod Pro, Aniipod Hyper, Aniipod Mega, Aniipod Track, Aniipod Ultra, Legendary Aniipod: Departure with the Wind, Legendary Aniipod: Departure with the Wind for Irisalis, Sparkling Cube. The multiplier applies to the species' base rate, and each pod is built for a level range rather than a single ceiling.
Aniipod | Multiplier | Level range | On a 30% species | Effect |
|---|---|---|---|---|
 Aniipod | ×1 | 1–101 | 30% | A device for catching, equipping, and training Aniimo. Polaris Institute researchers developed it using Lumintech after drawing inspiration from Ancient Idyll Civilization ruins. |
 Legendary Aniipod | ×1 | 25–45 | 30% | Polaris Institute created this special Aniipod using energy drawn from Astral Bead. It can steady the chaotic energy inside Vein Rifts, turning violent power into a gentle flow that soothes rampaging Legendary Aniimo and helps Pathfinders form a bond with them. |
 Aniipod Pro | ×1.5 | 15–35 | 45% | The first upgraded product in the Aniipod series, designed to help Pathfinders catch Aniimo with greater ease. |
 Aniipod Hyper | ×2 | 35 | 60% | An Aniipod crafted from new materials that increases Toss speed by reducing air resistance and extending the throwing range. |
 Aniipod Mega | ×2 | 35 | 60% | The second upgraded product in the Aniipod series, designed to help Pathfinders catch Aniimo even more easily. |
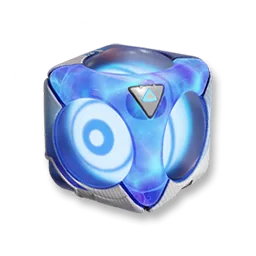 Aniipod Track | ×2 | 35 | 60% | An Aniimo catching device equipped with an eagle-eye lock system that automatically Tracks nearby Aniimo after being Tossed. |
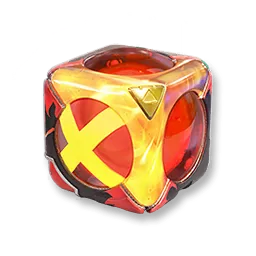 Aniipod Ultra | Guaranteed | 25–45 | 100% | Rolls talents on the catch — Aniipod developed by the Polaris Institute with amazing performance in every way. It represents the spirit of a champion. |
 Legendary Aniipod: Departure with the Wind | Guaranteed | 25–45 | 100% | Catch is always Sparkling, Rolls talents on the catch — A special Aniipod crafted using the energy extracted from Irisalis petals. Blessed by the Irisalis, it can attract rare Aniimo and imbue them with a unique radiance. |
 Legendary Aniipod: Departure with the Wind for Irisalis | Guaranteed | 25–45 | 100% | A special Aniipod crafted using the energy extracted from Irisalis petals. Blessed by the Irisalis, it can attract rare Aniimo and imbue them with a unique radiance. |
 Sparkling Cube | Guaranteed | 25–45 | 100% | Catch is always Sparkling, Rolls talents on the catch — An upgraded version of the Aniipod Ultra, created by a genius. Some Pathfinders believe that its design transcends mathematics and is instead metaphysical. |
What actually changes the odds
The game's catch screen names 22 conditions that change the odds of a throw: 9 raise your chance, 3 lower it, and 10 refuse the catch outright. This is the only lever you control at the moment of the throw.
Weakening it first does nothing. The catch table's HP and level curves exist on 9 groups, and every one of them is an elite or a boss the same row forbids catching — so for every Aniimo you can actually catch, a full-health target and a nearly-beaten one have identical odds.
Target's state | Effect | Game's tag |
|---|---|---|
| Stunned (one species only) | ×4 | TE_Wild_10481_Stun |
| Already fond of you | ×2 | TE_Par_Affinity |
| Drawn to bait | ×2 | TE_Par_Baited |
| Chatting with you | ×2 | TE_Par_Chat |
| Intoxicated | ×2 | TE_Par_Drunk |
| Eating | ×2 | TE_Par_Eat |
| Asleep | ×2 | TE_Par_Sleep |
| Hypnotised | ×2 | TE_Wild_Hypnosis |
| Stunned | ×2 | TE_Wild_Stun |
| Alerted | ×0.9 | TE_Par_Alert |
| Watching you | ×0.9 | TE_Par_Stare |
| Walking away | ×0.8 | TE_Par_Leave |
No throw succeeds while one of these is true (10): Dropping its disguise to flee, Rampaging, Angry, during the tutorial, Corrupted, Sitting in its nest, Part of a scripted event, Giant, Part of a guided sequence, Already belongs to someone, Scenery, not a real encounter
The names are the labels the game's own catch screen shows; each row also prints the internal tag it comes from, so you can check it against the game files.
How to raise your catch chance
What the tables above add up to: the moves that actually raise your odds at the moment of the throw.
- Do not bother fighting it down first. For every catchable Aniimo the catch table gives no HP bonus at all, so a full-health target is exactly as catchable as a beaten one.
- Change its state instead: Asleep is worth ×2, and it is the biggest single swing available to you.
- Do not let it notice you. Being alerted, stared down or walked away from all cut the chance, and they are easy to trigger by approaching badly.
- Upgrade your Aniipod: Aniipod Track multiplies the rate by 2; the guaranteed pods always succeed.
- Check the pod's level range: each Aniipod is built for a band of levels, not an open ceiling.
- Alpha and Omega bosses cannot be caught; catch the species in the wild instead.
Aniimo catch rates range from 56% (Baleetle) down to 16% (Rookey · Timberline Form) across 246 catchable forms. There are 10 Aniipods; Aniipod Track is the strongest non-guaranteed pod at ×2. The catch chance is the species' base rate multiplied by the Aniipod and by the target's condition; 9 conditions raise it and 3 lower it. Lowering the target's HP does nothing. Wild Prismana (shiny) odds are 1 in 20,000.
See Also
Aniimo guides
Help us maintain accuracy! If you notice incorrect stats, missing data, or any issues, your feedback directly improves the quality of our data for the entire community.
Aniimo catch rate FAQ
How is catch chance calculated in Aniimo?
Each species has a base rate in the game's catch table. Your Aniipod multiplies it, and so does whatever state the target is in — asleep, baited, alert, walking away. Those three numbers are the whole calculation; the calculator above combines them.
Which Aniimo is easiest to catch?
Baleetle has the highest base catch rate at 56%.
Which Aniimo is hardest to catch?
Rookey · Timberline Form has the lowest base catch rate at 16%. Catch it asleep or baited, and bring a stronger pod — fighting it down first will not help.
What Aniipods are there?
There are 10: Aniipod, Legendary Aniipod, Aniipod Pro, Aniipod Hyper, Aniipod Mega, Aniipod Track, Aniipod Ultra, Legendary Aniipod: Departure with the Wind, Legendary Aniipod: Departure with the Wind for Irisalis, Sparkling Cube. Aniipod Track is the best non-guaranteed pod at ×2.
Does lowering HP help catch Aniimo?
No. The catch table only attaches an HP curve to 9 groups, and all of them are elites and bosses the same rows forbid catching. For every Aniimo you can actually catch there is no HP term at all, so a full-health target and a nearly-beaten one are equally catchable.
What is the best state to catch an Aniimo in?
Asleep, at ×2. Of the 22 conditions the catch screen can show, 9 raise your chance and 3 lower it; the table on this page lists each one with its multiplier.
Which Aniipod should I use?
The weakest one that still gets the job done. Aniipod Track multiplies the rate by ×2, and the guaranteed pods always succeed — but spending one on a species you would catch anyway is a wasted pod, so the calculator recommends the cheapest that clears the bar.
How rare are Prismana Aniimo?
A wild spawn is Prismana about 1 in 20,000 times. Prismana forms keep the species' catch rate.
Can you catch boss Aniimo?
No. Alpha and Omega bosses are flagged uncatchable in the catch table. Catch the species in the wild; 12 species have no catch group at all.