
Best Ambers in Valor Mortis: Tier List & Builds
All 29 Valor Mortis Ambers ranked, with their exact numbers per rank, where to find each one and five ready-made builds for parry, Claymore, Transmutation, firearm and survival play.
Ambers are the build system of Valor Mortis. They are passive bonuses you slot at a Lantern, and the right five turn a fragile soldier into a parry machine, a Claymore berserker or a Transmutation caster. The game has 29 of them. 15 scale through three ranks; the other 14 are single-rank switches that change how a mechanic works.
This guide ranks every Amber, lists the real numbers behind each description (the in-game text rarely gives them), says where each one is found, and pairs them into five builds with matching level-up board picks and weapon upgrades.
How Ambers work
You equip Ambers in the Levelling menu at any Lantern. Each goes in an Amber slot, and slots unlock at character levels 1, 3, 5, 7 and 9. The fifth slot costs only 7,707 Catalysts of levelling in total, so every build in this guide assumes all five from the second region onwards.
Ranked Ambers go from rank I to rank III. 13 of the 15 ranked Ambers have three or more copies placed in the campaign (chests, quest rewards and elite enemies), which lines up with their three ranks, so exploring thoroughly is how you power them up. Perfect Copy short-cuts this: it raises the rank of every other equipped Tier 1 and Tier 2 Amber. For 7 Ambers the game's curve table only defines ranks I and III; their rank II values below are interpolated and marked with *.
Valor Mortis Amber tier list




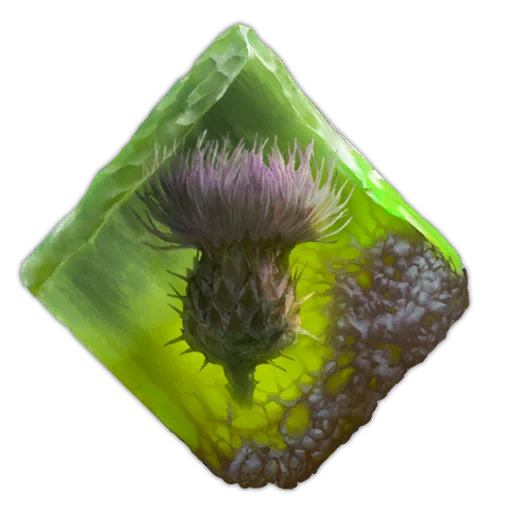
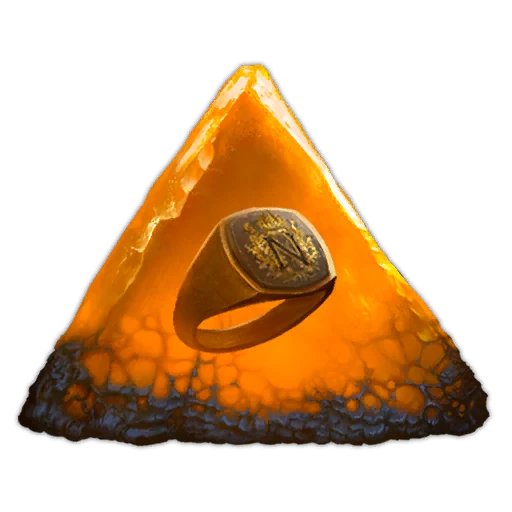
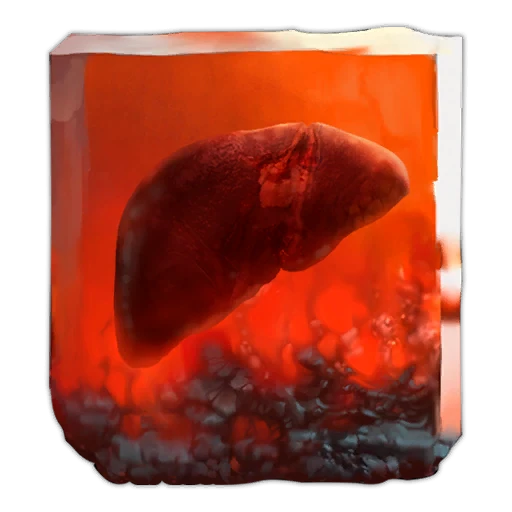
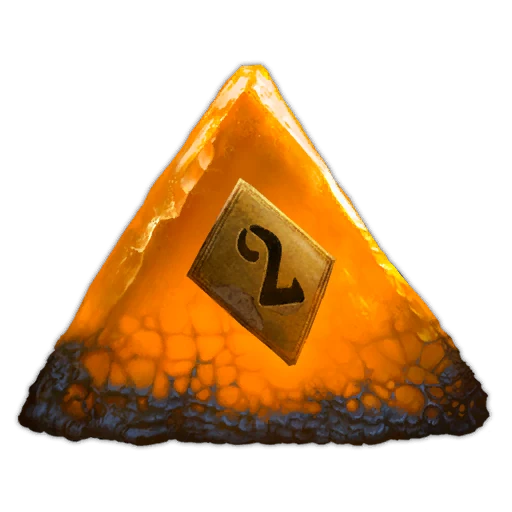


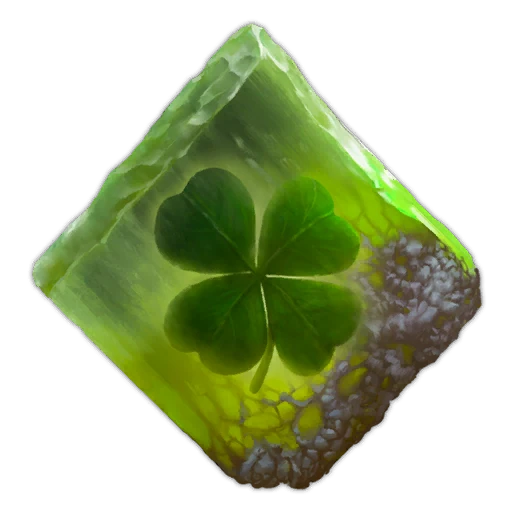

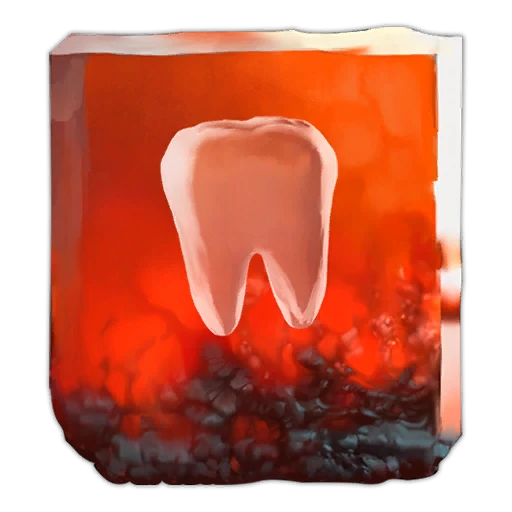



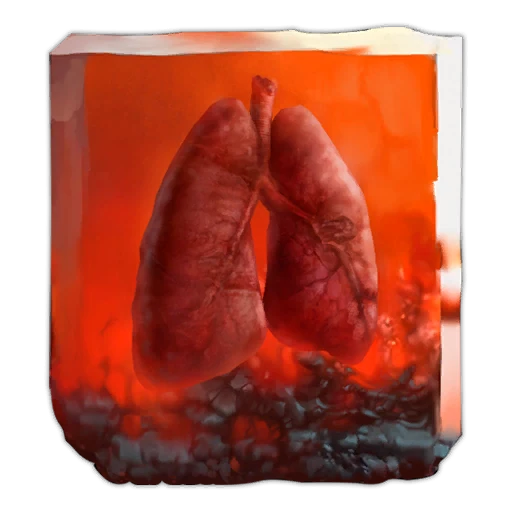

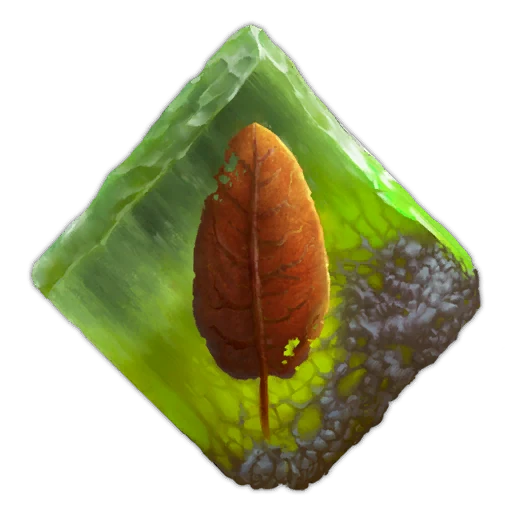
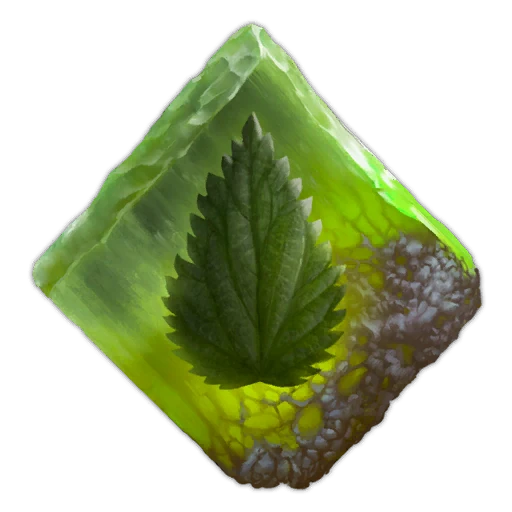


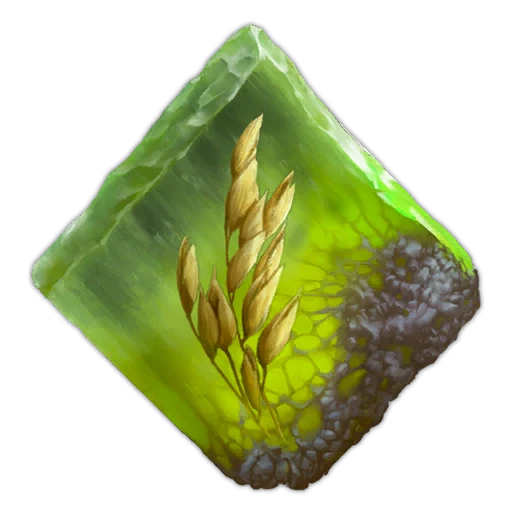
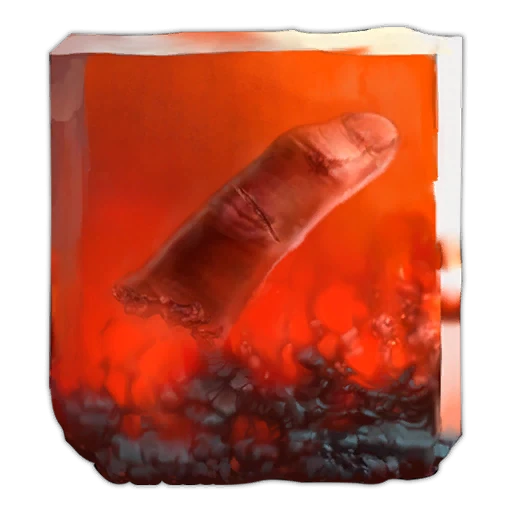
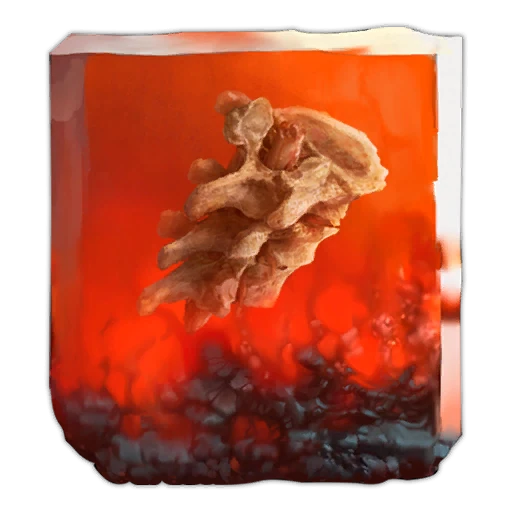



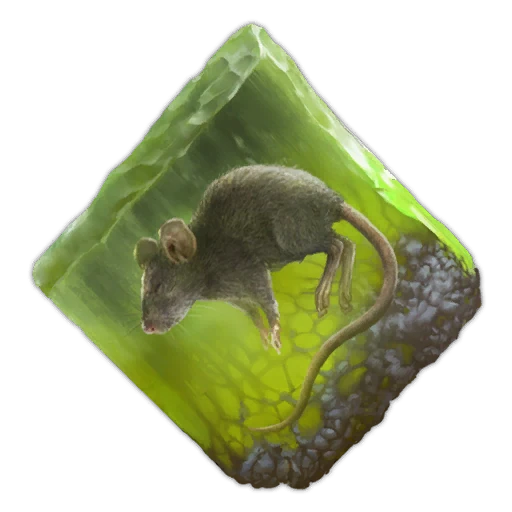
Why this order: Warrior's Fury is the strongest raw damage boost in the game (+30% damage plus extra speed for 8 seconds after each kill), and in crowded rooms it barely ever drops. Glass Soldier adds a flat +30% to melee but takes 40% off all your resistances, so it rewards players who parry and dodge cleanly. Dominatus turns every Critical Attack into a heal, and since posture breaks are how you win boss fights, it doubles as sustain. Perfect Copy does nothing on its own, but with four ranked Ambers beside it it is effectively four upgrades in one slot. Iron Grip fixes the most common way to die: getting hit mid-drink.
At the bottom, Dilated Moment costs 10% firearm damage and drains Endurance for a slow-motion aim that few fights need, and Silent Squeak only helps stealth.
Every Amber: numbers and where to find it
| Amber | Ranks | Effect (exact values) | Where to find |
|---|---|---|---|
| Warrior's Fury | I–III | Kill → +10% / +20% / +30% damage and ×1.05 / ×1.1 / ×1.2 movement speed for 8 s | Fallen Village (chest ×1); Cursed Hollow (elite Howler); University (elite Howler) |
| Glass Soldier | I–III | +20% / +25%* / +30% melee damage; −40% to all your damage resistances | Fallen Village (chest ×1); The Outskirts (chest ×1, elite Volunteers); Fortress (elite Eternal Guardsman) |
| Perfectionism | I–III | +10% / +15% / +20% melee damage while at full Health | Valley of Ashes (chest ×1); Caverns (chest ×1); Vale of Wrath (chest ×1) |
| Dominatus | I–III | Critical Attacks heal 20 / 25 / 30 Health plus a 50% / 75% / 100% heal factor | Valley of Ashes (chest ×1); The Outskirts (chest ×2); Caverns (elite Shambling Civilians) |
| Butcher's Carnage | I–III | 5% / 7.5%* / 10% melee lifesteal; Ferrofluid Flasks can no longer heal | The Battlefield (chest ×1); Vale of Wrath (chest ×1); The Outskirts (chest ×1) |
| Wound that Heals | I–III | Health regeneration magnitude 0.06 / 0.08* / 0.10 | The Battlefield (chest ×1); Vale of Wrath (chest ×1, elite Volunteers); Cursed Hollow (elite Remnants of the Iron Regiment) |
| Bottomless Well | I–III | Nephtoglobin regeneration magnitude 0.20 / 0.20 / 0.25 | The Battlefield (chest ×1); Caverns (quest: Homesick); City of Orphans (elite Risen Lancer) |
| Tomorrow's Promise | I–III | Flask adds regeneration over 10 s, healing ×1.1 / ×1.2 / ×1.3 | Fortress (chest ×1); Fallen Village (quest: Lullaby); Cursed Hollow (quest: Till Death) |
| Potent Concoction | I–III | Flask also restores 20% / 30% / 40% Nephtoglobin | Valley of Ashes (chest ×1); Fortress (chest ×1) |
| Life Diverted | I–III | Flasks restore Nephtoglobin instead of Health; Transmutations siphon 10% / 12.5%* / 15% as Health | The Battlefield (chest ×1); Cursed Hollow (chest ×1); City of Orphans (chest ×1); Fortress (chest ×1) |
| Surplus | I–III | +10% / +12.5% / +15% Catalysts from kills | Valley of Ashes (chest ×1); Caverns (chest ×1); The Outskirts (chest ×1) |
| Lucky Shot | I–III | 10% / 15% / 20% chance a shot uses no Ammunition | Caverns (chest ×1); Vale of Wrath (chest ×1); Fortress (chest ×1); Valley of Ashes (quest: An Unheard Farewell) |
| Indestructible Shell | I–III | 40% / 50%* / 60% explosion damage resistance | Valley of Ashes (chest ×1); Cursed Hollow (chest ×1); Fortress (chest ×1) |
| Lunatic's Grasp | I–III | +30% / +40%* / +50% Ignite and Stasis build-up; your Ignite and Crystallization resistance drops (−100%) | Caverns (chest ×1); The Outskirts (chest ×1); University (chest ×1) |
| Bountiful Harvest | I–III | Nephtoglobin Remnants heal 3% / 4% / 5% Health | City of Orphans (elite Volunteers) |
| Iron Grip | I | Flask drinking ×1.5 speed and cannot be interrupted | The Battlefield (chest ×1) |
| Duellist's Focus | I | Wider melee parry window (no number in the data) | The Battlefield (chest ×1) |
| Perfect Copy | I | Raises the rank of every other equipped Tier 1 and Tier 2 Amber | Valley of Ashes (chest ×1) |
| Limit Break | I | Excess flask healing becomes temporary Health; decays 1 per tick after 15 s | Caverns (chest ×1) |
| Transmuted Persistence | I | Transmutation damage restores Recoverable Health (×2 lingering multiplier) | The Battlefield (chest ×1) |
| Volatile End | I | Shooting a Weak Point triggers a 50-damage explosion | The Battlefield (chest ×1); Fallen Village (chest ×1) |
| Sleight of Hand | I | Reload and weapon switching ×1.2 speed | Valley of Ashes (quest: An Unheard Farewell) |
| Marksman's Bane | I | Parry bullets; each bullet parry gives a Pistol round | Valley of Ashes (chest ×1) |
| Sixth Sense | I | More Firearm damage during Perfect Dodges; dodging bullets slows time | City of Orphans (chest ×1) |
| Dilated Moment | I | Aiming slows time but drains Endurance; −10% Firearm damage | The Battlefield (chest ×1); Vale of Wrath (chest ×1) |
| Equivalent Exchange | I | Pay Health (×1.1) when Nephtoglobin runs out | Vale of Wrath (elite Risen Sapeur) |
| Fire Breathing | I | Attacking while dodging: 20-damage fire explosion, 5 m radius | Fortress (elite Remnants of the Iron Regiment) |
| Payback | I | Getting hit at low Health: 20-damage Stasis explosion, 5 m radius | University (elite Remnants of the Iron Regiment) |
| Silent Squeak | I | You make less noise, so enemies detect you less often | City of Orphans (NPC gift) |
Each Amber has its own page with the full parameter list. Start from the Ambers database or plan a loadout in the build planner.
Build 1: Parry Duellist (Rapier)
The Rapier is built for parrying. Its perfect parry deals 150 posture damage, against 100 for the Saber and Claymore, but it cannot block properly (its block type allows parries only). That makes it the highest-skill, highest-reward weapon, and these Ambers lean into it.
- Duellist's Focus: a wider melee parry window, which is the safety net this build needs.
- Perfectionism: +20% melee damage at rank III while you are at full Health. Clean parries keep you there.
- Dominatus: Critical Attacks heal up to 30 Health plus a 100% factor at rank III. A parry build breaks posture constantly.
- Warrior's Fury: +30% damage after each kill for the trash between Lanterns.
- Tomorrow's Promise or Iron Grip: for the flask you will occasionally need.
Board: max Parrying Impact (+5% parry posture damage each, +20% total), then Maximum Endurance and Critical Damage (+5% each). Rapier tree: take Remise at level 2 (consecutive parries power up your next Heavy Attack, up to ×3), then Lunge. At level 8, choose Astute Quarta (+20 Nephtoglobin per parry) or Invigorating Seconda (+40 Endurance per parry). Vigorous Terza (7 Health per parry) comes at level 10.
Build 2: Claymore Berserker
The Claymore hits hardest of the three blades (50 damage at level 1, 100 at level 10), channels a Burning Wave and a Wave of Stasis, and cannot parry. You win by trading, so this build stacks damage and heals on hit.
- Glass Soldier: +30% melee damage at rank III (the defensive cost is easier to accept when you are not relying on parries).
- Warrior's Fury: up to +30% damage for 8 s per kill.
- Butcher's Carnage: 10% melee lifesteal at rank III. It disables flask healing, so commit to it or skip it.
- Dominatus: an alternative heal if you want to keep your flasks.
- Perfect Copy: rank up the other three cheaply.
Board: Melee Damage (+3% each), the repeatable Maximum Health and Melee Damage node (+2 Health and +1% melee damage per purchase, up to 100), Physical Resistance to offset Glass Soldier, and Melee Endurance Cost. Claymore tree: Rampage at level 2 (spend it for ×2 heavy-attack damage or a cheaper Transmutation), Bulwark or Willpower at 5, Flesh Wound (damage reduction while attacking) at 8, and Bloodlust (+30 Health when spending Rampage) at 10.
Build 3: Transmutation caster (Sufferance)
Sufferance is the attribute for Transmutation damage and Nephtoglobin tolerance. The problem with Transmutations is fuel, so this build converts flasks and damage into Nephtoglobin and makes your status effects land faster.
- Life Diverted: flasks restore Nephtoglobin instead of Health, and Transmutations siphon 10% to 15% of their damage back as Health.
- Potent Concoction: if you prefer to keep Health flasks, they also restore 20% to 40% Nephtoglobin.
- Bottomless Well: passive Nephtoglobin regeneration.
- Lunatic's Grasp: +30% to +50% Ignite and Stasis build-up, at the cost of your own Ignite and Crystallization resistance.
- Transmuted Persistence: Transmutation damage restores Recoverable Health.
Board: Transmutation Damage (+3% each), Status Buildup (+5% each), both Nephtoglobin Sufferance nodes (+10 max Nephtoglobin per purchase, +80 total) and the repeatable Nephtoglobin Sufferance and Transmutation Damage node (+2 and +1% per purchase). For targets, the Fire Transmutation is the boss-killer against General Lothaire (+40% fire damage) and Experiment 83 (+20%). Skip it on the Orphan: both phases of that fight reset its fire weakness to 0%.
Build 4: Gunslinger
Firearms are ammo-limited (15 Pistol rounds, 6 special rounds for the Musket and Blunderbuss), so this build stretches your ammunition and makes every Weak Point hit count.
- Lucky Shot: a 20% chance at rank III that a shot uses no Ammunition.
- Volatile End: shooting a Weak Point triggers a 50-damage explosion.
- Sleight of Hand: ×1.2 reload and weapon-switch speed. Its only source is a choice reward from An Unheard Farewell.
- Sixth Sense: more Firearm damage during Perfect Dodges.
- Warrior's Fury: the +30% applies to all your damage, guns included.
Board: Headshot Damage (+5% headshot damage and +1 Blunderbuss round each), Ammo Restock (+2 Pistol and +1 special round restocked at Lanterns each), Ammunition Drop Chance, Airborne Aiming and the repeatable Firearms Damage (+1% each).
Build 5: Safe survival (first playthrough)
If you are still learning the bosses, sustain beats damage.
- Iron Grip: flasks that cannot be interrupted.
- Tomorrow's Promise: each flask adds a 10-second regeneration, up to ×1.3 healing.
- Wound that Heals: constant slow Health regeneration.
- Limit Break: overhealing becomes temporary Health that lasts 15 s before decaying.
- Indestructible Shell: up to 60% less explosion damage. In the data, explosive hits include the Visceral Ability of General Lothaire and Entity and the Sphinx's posture-break slam.
- Shorter boss fights
- Rewards clean parries and dodges
- Punishing when you get hit
- Forgiving while learning a boss
- Keeps flasks useful
- Fights take longer
VerdictRun sustain on a boss you have not seen, then swap to damage once you know its red attacks. Ambers can be changed at any Lantern.
Where to get the best Ambers early
The Battlefield and the Valley of Ashes hold 18 Amber finds between them. On the Battlefield's chests you get Iron Grip, Duellist's Focus, Volatile End, Wound that Heals, Butcher's Carnage, Life Diverted, Bottomless Well, Dilated Moment and Transmuted Persistence. The Valley of Ashes adds Perfect Copy, Dominatus, Surplus, Perfectionism, Potent Concoction, Indestructible Shell, Marksman's Bane and the two An Unheard Farewell rewards. Warrior's Fury is in a Fallen Village chest, and two more copies drop from elite Howlers in Cursed Hollow and the University.
- Rank III Warrior's Fury triples the rank I damage bonus (+10% to +30%)
- 13 of 15 ranked Ambers have three or more copies, so a thorough first pass ranks them naturally
- Some copies sit in late regions (the Fortress, the University)
- Perfect Copy gives a similar boost without the backtracking
Get the Winning Edge
Real-time overlays, automatic match tracking, and exclusive tools — everything you need to climb, free on your PC.
- In-game overlays
- Automatic match tracking
- Desktop-exclusive tools
Help us maintain accuracy! If you notice incorrect stats, missing data, or any issues, your feedback directly improves the quality of our data for the entire community.
Guide FAQ
How many Ambers are in Valor Mortis?
There are 29 Ambers: 15 with three ranks and 14 single-rank ones. Collecting them all unlocks the Ambersmith achievement.
What is the best Amber in Valor Mortis?
Warrior's Fury is the strongest general pick: each kill grants +10/+20/+30% damage and extra movement speed for 8 seconds. For bosses, Dominatus (heal on Critical Attacks) and Glass Soldier (+30% melee damage) are close behind.
How do you upgrade Ambers in Valor Mortis?
Ranked Ambers go from rank I to III, and 13 of the 15 have three or more copies placed in chests, quest rewards and elite enemies. Perfect Copy also raises the rank of your other equipped Tier 1 and Tier 2 Ambers.
When do you unlock Amber slots?
At character levels 1, 3, 5, 7 and 9, so five slots in total. Levelling from 1 to 9 costs 7,707 Catalysts.
Where do you get Sleight of Hand?
It is a reward from the An Unheard Farewell side quest in the Valley of Ashes. The quest's other outcome gives Lucky Shot instead, and our data shows no other source of Sleight of Hand.
Is Butcher's Carnage good?
Only in a build that commits to it. It gives 5/7.5/10% melee lifesteal but stops Ferrofluid Flasks from healing, so it suits aggressive Claymore or Saber play and clashes with every flask Amber.